Hydrostatic mower loses power when hot: What to check
Quick answer
Drive that fades only after warm-up can come from restricted cooling, an engine or belt problem, incorrect or low transmission fluid on a serviceable system, air entry, a restricted filter, brake or linkage drag, or internal pump and motor wear. Stop if there is a leak, overheat warning, burning odor, abnormal noise, or unsafe control response.
Common questions
- Why does a hydrostatic mower drive normally when cold but slow down when hot?
- Heat can expose marginal cooling, belt grip, fluid condition, air entry, or internal wear. It can also coincide with engine-power loss or brake drag, so confirm whether both drive sides weaken and whether engine speed changes.
- Can I use thicker oil to fix a weak hydrostatic mower?
- Do not substitute fluid as a diagnosis. Use only the fluid specified for the exact mower or transmission. The wrong viscosity or chemistry can worsen performance or cause damage.
- How should I check a mower hydraulic leak?
- Never use a hand. Stop the machine, allow it to cool, relieve pressure as the manual directs, and use cardboard or another manufacturer-approved method while protecting hands and body. Fluid injection requires immediate medical care.
Source note: Reviewed against John Deere hydrostatic transmission service guidance. Fluid type, level conditions, filters, purge procedures, belt adjustment, pressure testing, and service intervals are model-specific and must come from the current mower and transmission manuals.
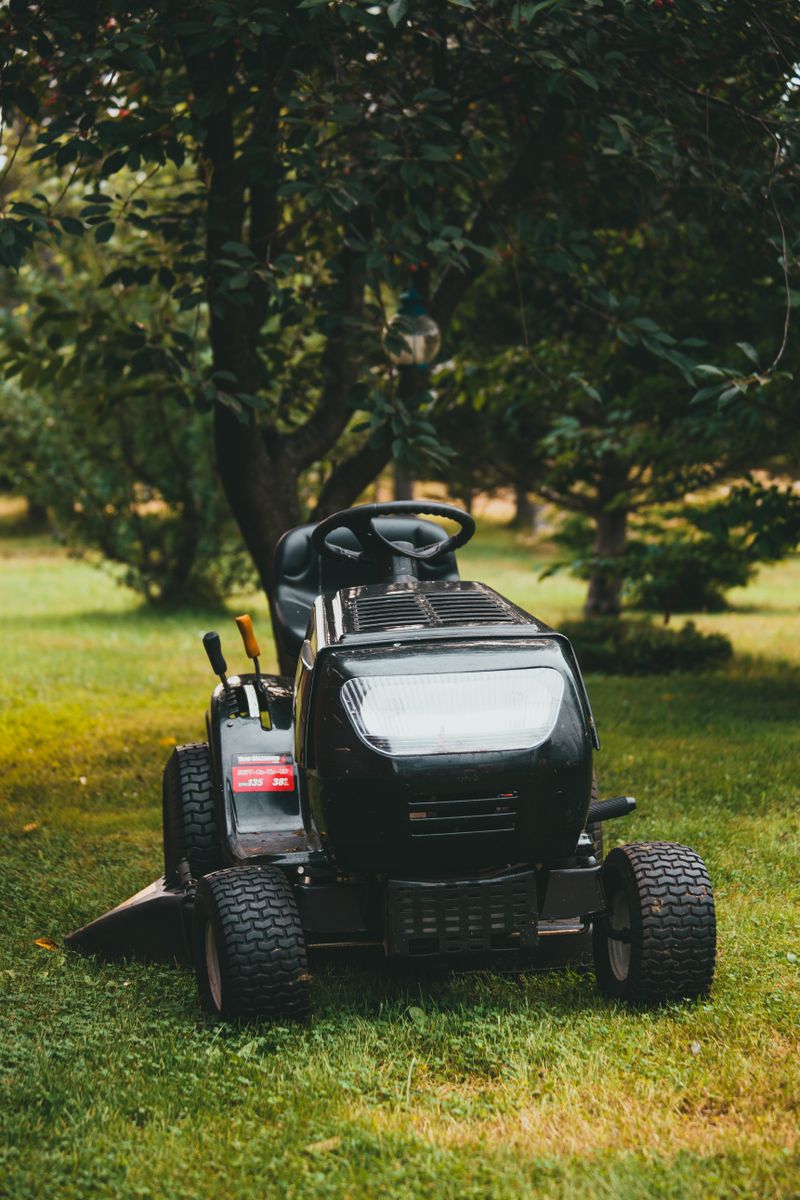
A hydrostatic mower that pulls strongly at the start of a route but fades after warming up presents a tempting conclusion: “the transmission is worn out.” Sometimes it is. Often the symptom begins elsewhere—in blocked cooling airflow, an engine losing speed, a slipping drive belt, an incorrect fluid level, or a brake that drags as components heat.
The right workflow separates engine power, mechanical drive, cooling, external hydraulic service items, controls, and internal hydrostatic performance. It also recognizes the point where field checks end and trained service with model-specific gauges begins.
Define “loses power” precisely
Before servicing, reproduce the complaint only in a safe area and stop at the first sign of overheating, leakage, burning odor, abnormal noise, or unreliable controls.
Record:
- Cold operating time before the symptom appears
- Ambient temperature, slope, turf load, and attachment use
- Whether engine speed changes
- Whether both drive sides weaken equally
- Whether turning one direction becomes harder
- Warning lights, fan operation, odor, noise, or visible leakage
- Whether performance returns after cooling
- Recent fluid, filter, belt, linkage, tire, or towing work
If the engine itself bogs, surges, or loses speed, diagnose the engine and cutting load before condemning the hydros. If one side weakens while the other stays normal, compare that side’s belt path, control linkage, brake release, cooling, leakage, and transmission.
If one side is already weak from a cold start or the mower consistently veers during straight travel, use the zero-turn one-side diagnostic to separate tire pressure and tracking from brake, belt, control, and drive faults before continuing with heat-fade checks.
Stop and cool the machine safely
Park on a level surface away from dry vegetation. Disengage the deck, place controls in neutral, set the parking brake, stop the engine, remove the key, and wait for moving parts to stop. Follow the manufacturer’s accidental-start prevention procedure.
Hydraulic reservoirs, hoses, filters, and oil can be hot enough to burn. Pressurized fluid can penetrate skin. Never loosen a hot line, open a reservoir without following the manual, or check for leaks with your hand. Let the system cool, relieve pressure as specified, and use cardboard or an approved leak-detection method. Fluid injection is a medical emergency even when the wound looks small.
Diagnostic checks from simplest to most involved
1. Confirm engine and deck load
Run the machine with the cutting system disengaged under a safe test procedure. If travel remains strong without the deck but fades while cutting, inspect engine performance, deck buildup, blade condition, spindle drag, belt routing, cutting height, and travel speed.
An uneven or overloaded deck can feel like a transmission fault. Use the mower strip and uneven-cut guide when cut quality changes with the power loss.
2. Restore cooling airflow
John Deere’s guidance stresses keeping hydraulic cooling fins clean to prevent overheating damage. Locate screens, fans, fins, coolers, and cleanout points using the exact operator manual. Remove packed grass, dust, and oily debris only after shutdown and by the approved method.
Inspect the cooling fan for broken blades, looseness, missing guards, or a drive problem. Do not operate with shields removed to observe it. An oil-coated cooler may also be evidence of a leak that needs repair, not just cleaning.
3. Inspect the mechanical drive
Many mower hydro units receive engine power through a belt. With the machine disabled, inspect accessible belts and pulleys for glazing, cracking, contamination, debris, damaged idlers, weak tensioning, and heat marks. Check that parking-brake and bypass linkages return fully.
Do not spray belt dressing on the drive or improvise a stronger spring. Belt part, routing, tensioning, and replacement procedures are model-specific. A belt that slips more as it heats can mimic declining hydraulic pressure.
4. Check tires, brakes, and controls
Normalize tire pressure and inspect for a brake that does not release. Compare control travel side to side using the manual’s neutral and linkage checks. Avoid adjusting neutral, tracking, or swash-plate linkages until obvious drag and drive issues are ruled out.
Incorrect adjustment can create unintended movement or disable neutral behavior. Escalate when the procedure requires the machine to run on supports or when safe restraint and test equipment are unavailable.
5. Check fluid only as the manual specifies
Some hydrostatic transmissions have a serviceable reservoir; others are sealed. On serviceable systems, the manual may require a level check cold, on a level surface, or under another defined condition. Clean around the cap before opening it.
Use only the listed fluid. John Deere manuals illustrate why guessing is risky: approved oil varies by machine, and some manuals explicitly prohibit fluids allowed in other equipment. Do not mix oils, add an aftermarket additive, or choose a thicker grade to hide the symptom.
Low fluid requires finding the reason. Overfilling is also harmful because fluid expands. Milky, foamy, burnt-smelling, or contaminated fluid deserves a controlled service evaluation rather than a top-off.
6. Review service history and filtration
Confirm whether the exact unit has a serviceable filter and whether its interval is due. Use serial-number-specific documentation; not all hydro units share the same filter or purge process. A recent service followed by hot power loss raises questions about the correct fluid, level, filter, hose routing, contamination control, and air purging.
Do not open the hydraulic circuit “to see if oil comes out.” Contamination introduced during casual testing can turn a minor diagnosis into a transmission failure.
When internal wear becomes more likely
After external checks pass, a trained technician may compare performance cold and hot using the manufacturer’s pressure, flow, temperature, and leakage procedures. Internal leakage in a worn pump or motor can increase as the fluid warms, but that conclusion requires controlled measurements.
Internal service is more likely when:
- One unit repeatedly loses drive at a similar temperature despite clear cooling paths
- Correct belt drive and control travel are verified
- Fluid and filter condition are correct for the model
- There is abnormal hydro noise or metal contamination
- Manufacturer test values fall outside specification
- The symptom persists without deck load or engine-speed loss
Pressure settings and relief adjustments are not general tune-up points. Refer sealed units, relief-valve work, pump or motor overhaul, and contamination failures to an authorized or qualified hydrostatic service facility.
Repair or replace the hydro unit?
Base the decision on measured cause, parts support, contamination extent, machine hours, frame and deck condition, downtime, warranty, and the cost of validating both drive sides. A complete unit may be the safer repair when internal debris has circulated or field rebuilding cannot meet cleanliness and test requirements.
If the mower is otherwise near replacement, compare service access and transmission support as carefully as deck width or speed. Our zero-turn mower guide outlines those ownership considerations. The commercial mower maintenance checklist can also prevent cooling and inspection gaps across a fleet.
Verify under the original conditions
After repair, restore every guard and test safety systems. Check for leakage, neutral return, tracking, brake function, and abnormal heat. Repeat the original warm-up route in a controlled setting while monitoring the same time, load, and symptom notes.
Do not return the mower to production because it drives normally for two cold minutes. The acceptance test must cover the condition that caused the failure. Document the final temperature behavior, parts and fluids used, manual procedure, and who authorized the return to service.
Source

TurfTech HQ Editorial Team
Independent trade-focused editorial team