Sprinkler valve won't shut off: Stop the water safely
Quick answer
If a sprinkler zone will not stop, try the controller stop command once, then close the irrigation isolation valve if water continues or property is at risk. After pressure is relieved, separate an electrical command problem from a valve that cannot seat because of an open bleed, debris, diaphragm damage, solenoid trouble, or body damage.
Common questions
- How do I stop a sprinkler zone that keeps running?
- Use the controller's stop or off command once. If the flow continues, close the irrigation system's identified isolation valve. If no safe irrigation-only shutoff is known or water threatens property, contact the water utility, property manager, or a licensed irrigation or plumbing professional.
- Why does a sprinkler valve keep flowing with the controller off?
- The valve may have an open manual bleed, debris preventing the diaphragm from seating, a damaged diaphragm or seat, a stuck solenoid plunger, an incorrectly set flow control, or a continuing electrical signal.
- Does water from the lowest sprinkler head mean the valve is stuck open?
- Not always. Brief drainage can be water emptying from lateral piping. Flow that continues, repeats without a new cycle, or persists well beyond normal drainage needs valve and controller diagnosis.
Source note: Reviewed against Rain Bird valve troubleshooting guidance. Shutoff, wiring tests, disassembly, parts, torque, and recommissioning must follow the installed system's documentation and local code.
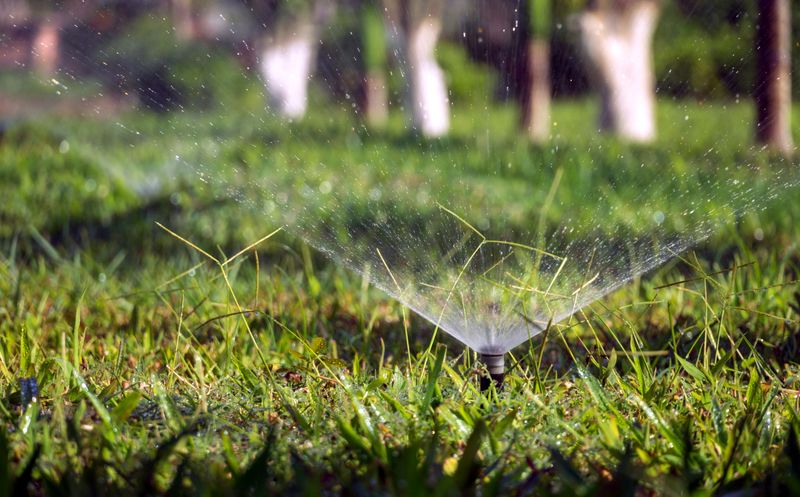
A sprinkler zone that keeps running is more than an annoyance. It can flood a planting bed, erode soil, damage hardscape, and waste water while the owner searches for the correct shutoff.
The immediate job is to control the water without creating an electrical or pressure hazard. The repair comes after the site is stable.
First response: stop the water
- Use the controller’s stop, rain-off, or system-off command once.
- Wait long enough to distinguish continuing flow from the last water draining out of the lateral piping.
- If the zone continues or property is at risk, close the labeled irrigation isolation valve.
- If the system uses a pump, master valve, reclaimed-water source, or shared commercial supply, follow the site shutdown plan.
- Keep people away from flooded electrical equipment, open boxes, sinkholes, and slippery surfaces.
Do not repeatedly cycle a controller while water is causing damage. Do not force a corroded shutoff or operate an unfamiliar backflow assembly as though it were a routine zone control. If there is no known irrigation-only isolation point, get help from the property manager, water utility, or appropriately licensed irrigation or plumbing professional.
Drain-down or a valve that is still open?
After a normal cycle, water in a sloped lateral may drain from the lowest head. That flow should diminish. A zone valve fault is more likely when heads continue spraying at operating force, flow stays steady, or the zone restarts without a scheduled command.
Record which heads flow, how long the flow persists, and whether the controller display shows an active station. Those observations help separate a hydraulic valve problem from controller programming or field wiring.
How an irrigation valve closes
In a common diaphragm valve, water pressure fills the chamber above the diaphragm. Because the effective area above is larger, the diaphragm is held against the seat. Energizing the solenoid or opening a manual bleed relieves that chamber and lets the valve open.
The valve may fail to close when:
- Debris or a small stone blocks the diaphragm or seat
- The diaphragm is torn, distorted, or worn
- An internal filter or control port is restricted
- The solenoid plunger is missing, damaged, or stuck
- A manual bleed remains open
- The flow-control setting prevents stable closing under site conditions
- The bonnet leaks or the valve body or seat is damaged
- The valve is installed in the wrong flow direction
- The controller or field wiring continues energizing the solenoid
Rain Bird’s troubleshooting material treats these as distinct checks. Replacing a solenoid will not clear a stone from the seat, and cleaning a diaphragm will not stop an unintended controller output.
Safe diagnostic sequence
1. Rule out programming and an electrical command
Check for multiple start times, overlapping programs, a manual run, seasonal programs, or a remote-app command. Confirm the station indication changes when the controller is set to off.
Use electrical test equipment only if you are qualified for the controller and know its manufacturer procedure. Keep out of line-voltage compartments unless appropriately licensed and authorized. A solenoid that remains energized may feel warm or vibrate, but touch alone is not a complete or safe electrical diagnosis.
If disconnecting a field lead is part of an approved low-voltage test, first isolate power as the manual directs. Protect and label conductors before restoring power.
2. Check manual controls
With water isolated and pressure relieved, confirm that the solenoid and manual bleed are in their normal operating positions. Inspect the flow-control stem position, but do not use it as a substitute for the upstream isolation valve during disassembly.
Do not overtighten plastic threads or a solenoid. Follow the valve manual for orientation, seals, and hand-tightening instructions.
3. Open the valve only after isolation
Photograph wiring and component orientation. Clean soil and standing water away from the bonnet so debris does not fall into the valve. Loosen fasteners in the sequence the manufacturer specifies, remembering that trapped pressure may remain.
Inspect:
- Diaphragm edges, sealing surface, and molded passages
- Valve seat for grit, pitting, cracks, or distortion
- Solenoid plunger and spring
- Small internal ports and filters
- Bonnet and body for freeze or impact damage
- Flow arrow and installation direction
Use only manufacturer-approved cleaning methods. Never enlarge a metering or exhaust port with a drill. Replace damaged elastomer parts with the correct valve kit rather than improvising a patch.
4. Flush without introducing more contamination
If the manual permits flushing, control the discharge and keep people clear. Protect the clean valve interior while the line is open. Recurring stones, pipe shavings, or organic debris may indicate poor repair hygiene, a damaged mainline, or inadequate filtration that needs correction upstream.
5. Reassemble and recommission
Seat the diaphragm in its correct orientation, confirm springs and ports are positioned correctly, and tighten the bonnet evenly to the model specification. Reconnect labeled wiring with suitable waterproof connectors.
Open the isolation valve slowly. Inspect the bonnet, solenoid, and fittings for leakage before running the zone. Then command several start-stop cycles and verify that the valve closes consistently—not just once.
What the symptom location tells you
If one zone will not close, focus on its station output, field circuit, manual controls, and valve. If multiple valves stay open, investigate controller output, a master-valve arrangement, common wiring, pump controls, and system pressure with a qualified technician.
If the valve closes but the lowest head keeps dripping briefly, inspect check-valve needs and elevation-driven drainage. If the valve closes but the zone is weak, switch to the one-zone low-pressure workflow.
Prevent the next emergency
Label the irrigation isolation valve, controller station, and valve box. Keep the valve model, repair-kit number, wire colors, and a site plan in the service record. Exercise accessible isolation valves according to their manufacturer guidance and inspect boxes for soil, roots, insects, and standing water during seasonal service.
Head and zone design also affect valve performance. Avoid mixing devices with incompatible flow and precipitation characteristics; our spray, rotor, and rotary nozzle comparison explains the selection logic. For system layout and hydrozoning, see the sprinkler installation guide.
Know when to escalate
Refer the work when the isolation valve will not operate, the valve body is cracked, the box contains unsafe wiring, the failure involves a potable-water connection or backflow device, repeated debris suggests a mainline problem, or site rules require a licensed contractor.
Restore safeguards and leave the site ready for the next response. A repaired valve should close reliably, leak nowhere, respond from the correct station, and have an identified upstream shutoff that another technician can find quickly.
Sources

TurfTech HQ Editorial Team
Independent trade-focused editorial team